> ## Documentation Index
> Fetch the complete documentation index at: https://docs.nexus-md.com/llms.txt
> Use this file to discover all available pages before exploring further.
# Uploading Images From Your Computer to Your Nexus-MD Account
To upload medical images from your local computer—including files from discs—to your Nexus-MD cloud account, follow the steps below:
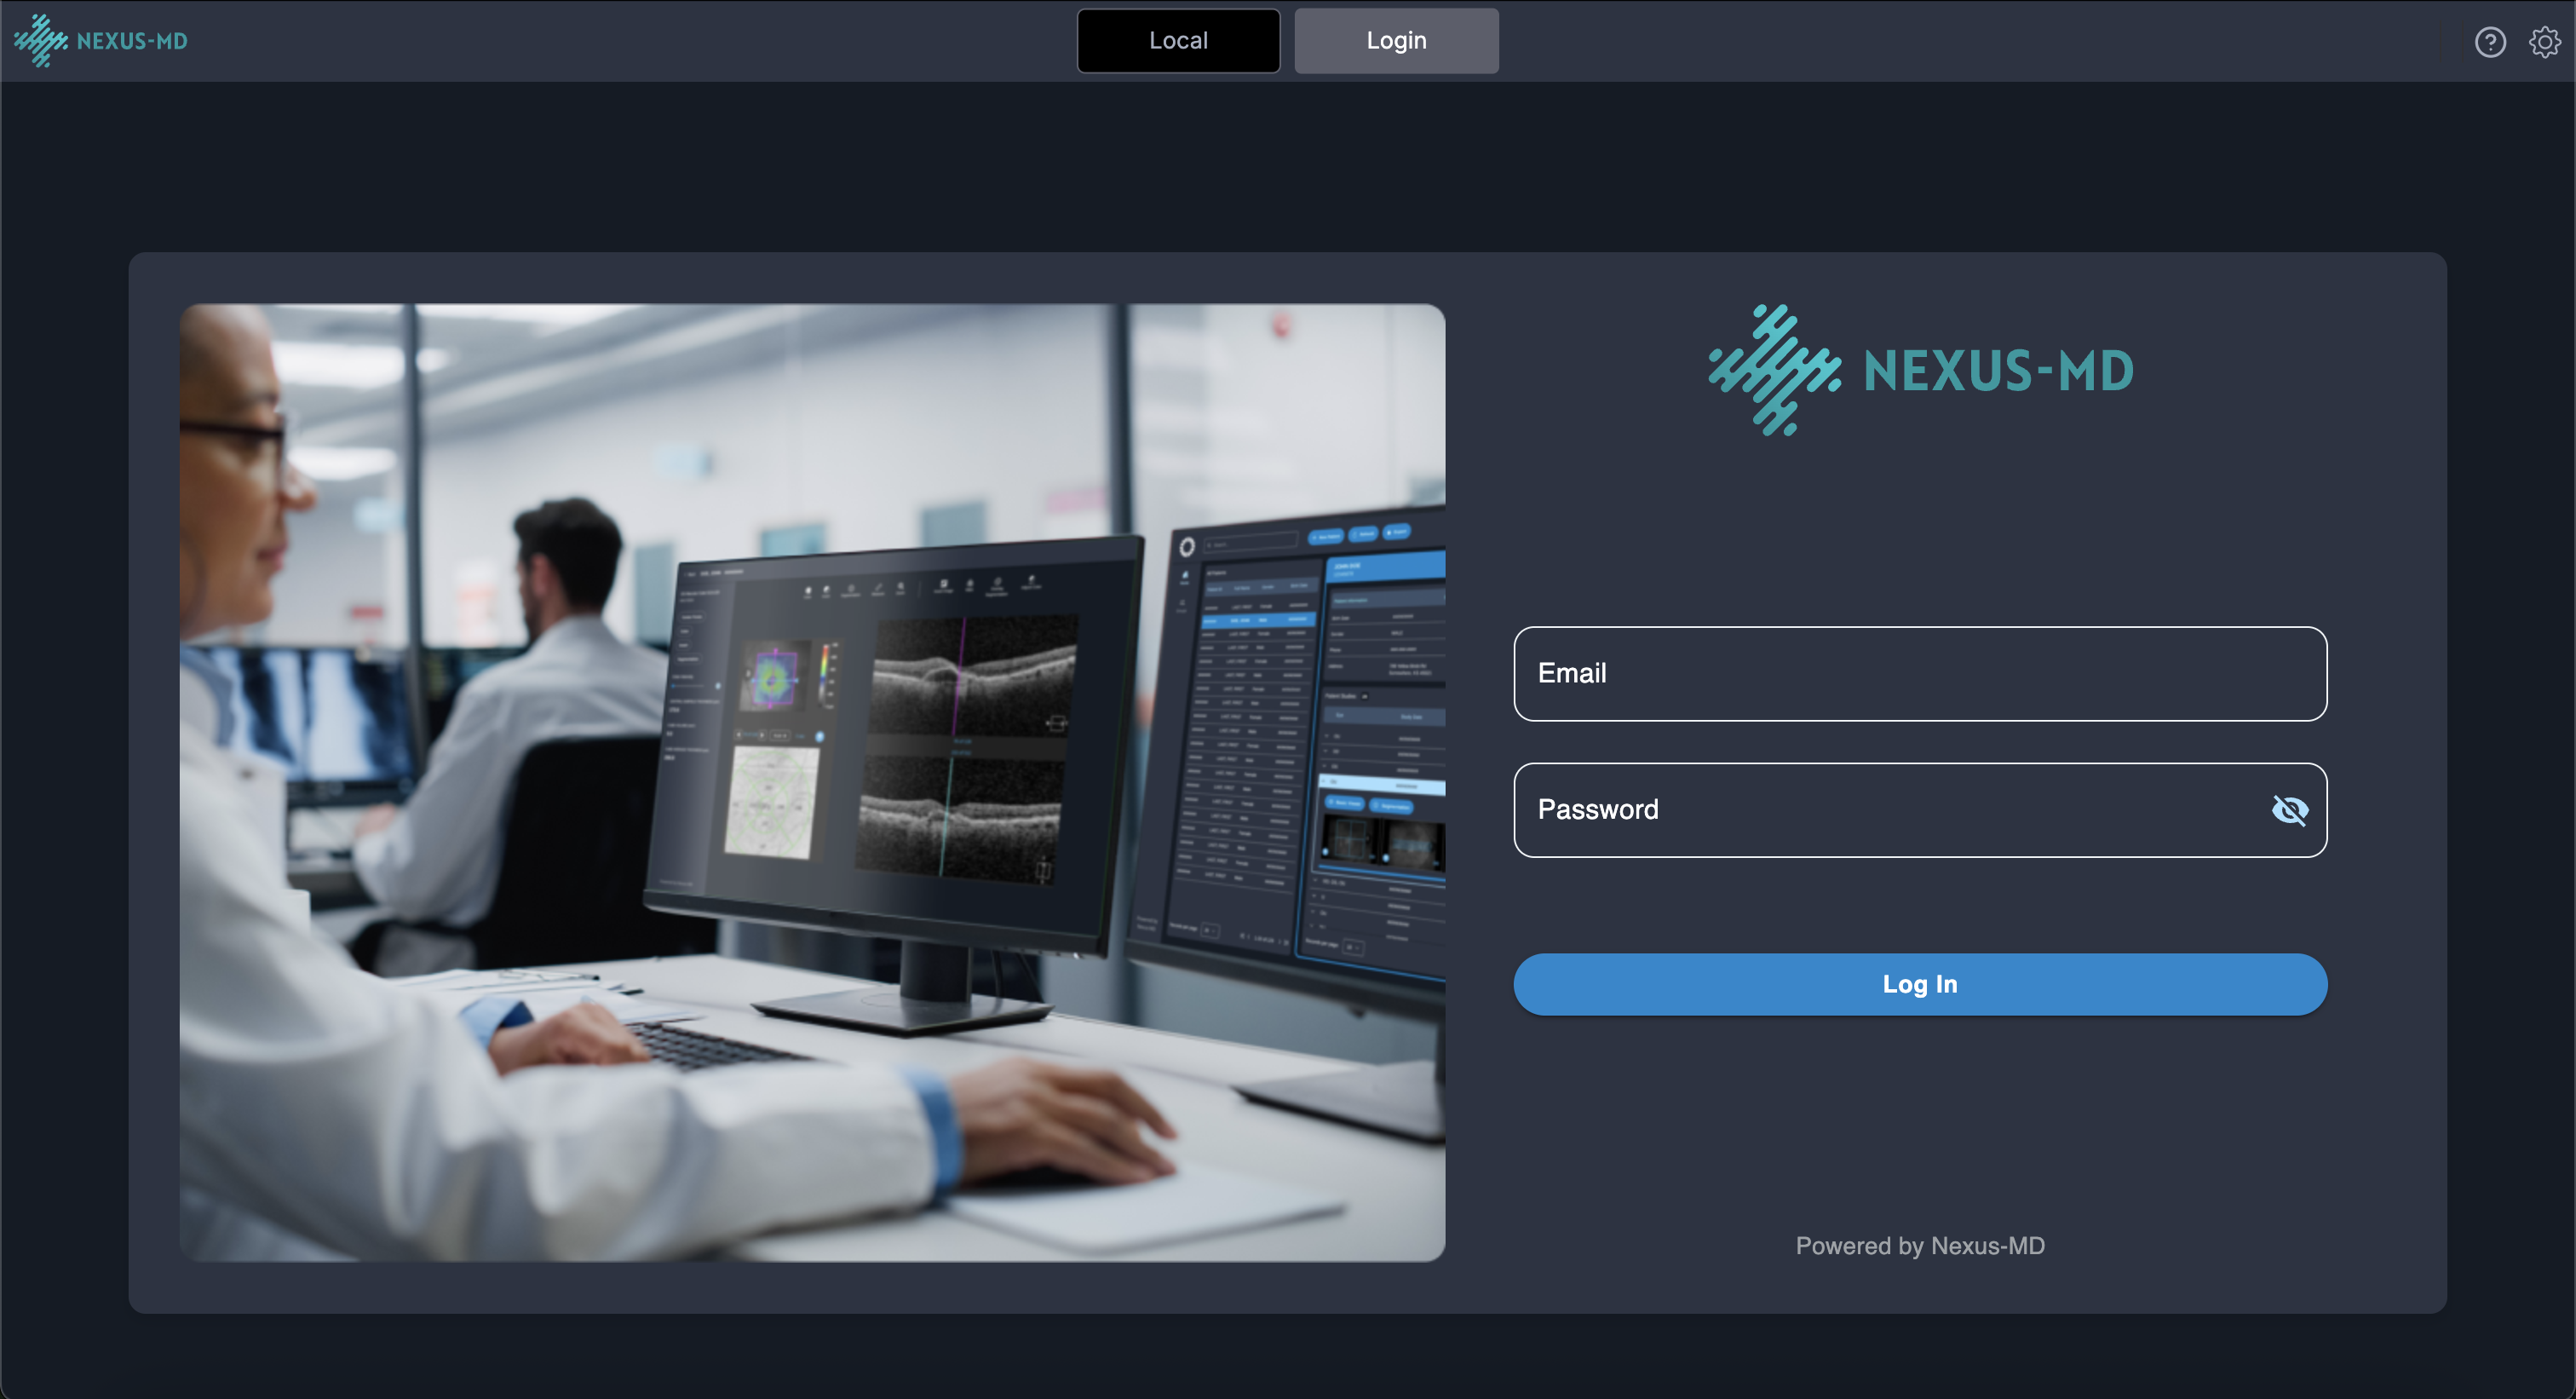
1. **Log in to your Nexus-MD account** using the instructions provided in the *Login* section.
 2. After logging in,
a) Click the **Import** button in the header to bring DICOM files from your chosen source (i.e. the soure can be your CD or Zip file or Folder) into your **Local Worklist**. The study in Local Worklist is on your local machine and you can view from your local computer.
2. After logging in,
a) Click the **Import** button in the header to bring DICOM files from your chosen source (i.e. the soure can be your CD or Zip file or Folder) into your **Local Worklist**. The study in Local Worklist is on your local machine and you can view from your local computer.
 b) the **DICOM Upload** will upload your ZIP files from your local computer to cloud directly.
**Note:** The import process may take up to **three minutes**, depending on file size and source speed. During this time, the viewer may appear unresponsive. This is a known issue and will be addressed in a future release.
3. Once the import is complete, each study will appear as a **separate row** in the Local Worklist.
b) the **DICOM Upload** will upload your ZIP files from your local computer to cloud directly.
**Note:** The import process may take up to **three minutes**, depending on file size and source speed. During this time, the viewer may appear unresponsive. This is a known issue and will be addressed in a future release.
3. Once the import is complete, each study will appear as a **separate row** in the Local Worklist.
 4. Click on any study row to **review the images** and verify that all data has been imported correctly.
 5. After confirming the imported data, each study row in the Local Worklist provides three action tools on the right side:
 * **Download (downward arrow):** Exports the study from the Local Worklist to any location on your computer.
* **Upload (upward arrow):** Uploads the study to your **Nexus-MD Cloud Database**.
* **Delete (trash can):** Removes the study from the Local Worklist.
6. Upload Confirmation Page
After clicking the **Upload** button, you will be taken to the **Upload Confirmation** page.
* **Download (downward arrow):** Exports the study from the Local Worklist to any location on your computer.
* **Upload (upward arrow):** Uploads the study to your **Nexus-MD Cloud Database**.
* **Delete (trash can):** Removes the study from the Local Worklist.
6. Upload Confirmation Page
After clicking the **Upload** button, you will be taken to the **Upload Confirmation** page.
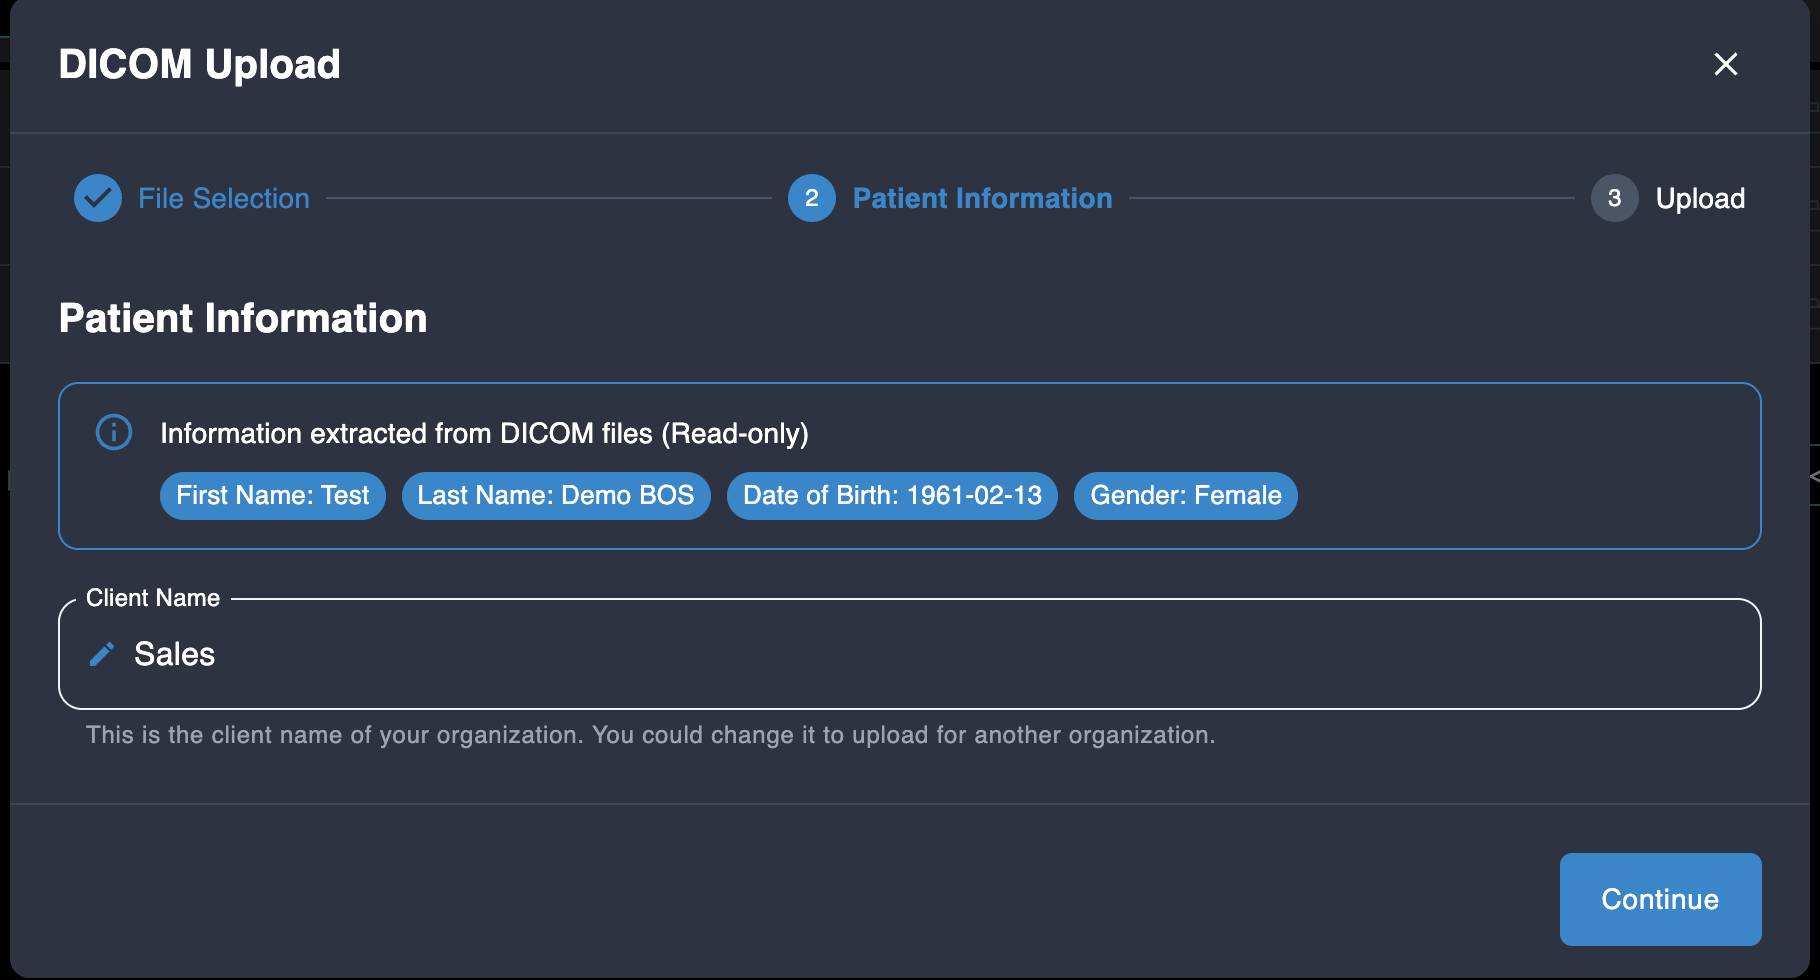 This page displays the **patient demographics** extracted from the selected study (this section is read-only) along with the \*\*organization name \*\*(shown as Client Name) to which the study will be uploaded.
If necessary, you may change the organization name before proceeding. However, we recommend verifying that the selected organization is correct.
If you have any questions or need clarification, please contact us at [**support@nexus-md.com**](mailto:support@nexus-md.com).
This page displays the **patient demographics** extracted from the selected study (this section is read-only) along with the \*\*organization name \*\*(shown as Client Name) to which the study will be uploaded.
If necessary, you may change the organization name before proceeding. However, we recommend verifying that the selected organization is correct.
If you have any questions or need clarification, please contact us at [**support@nexus-md.com**](mailto:support@nexus-md.com).